
In this guide:
- Starting with a blank template
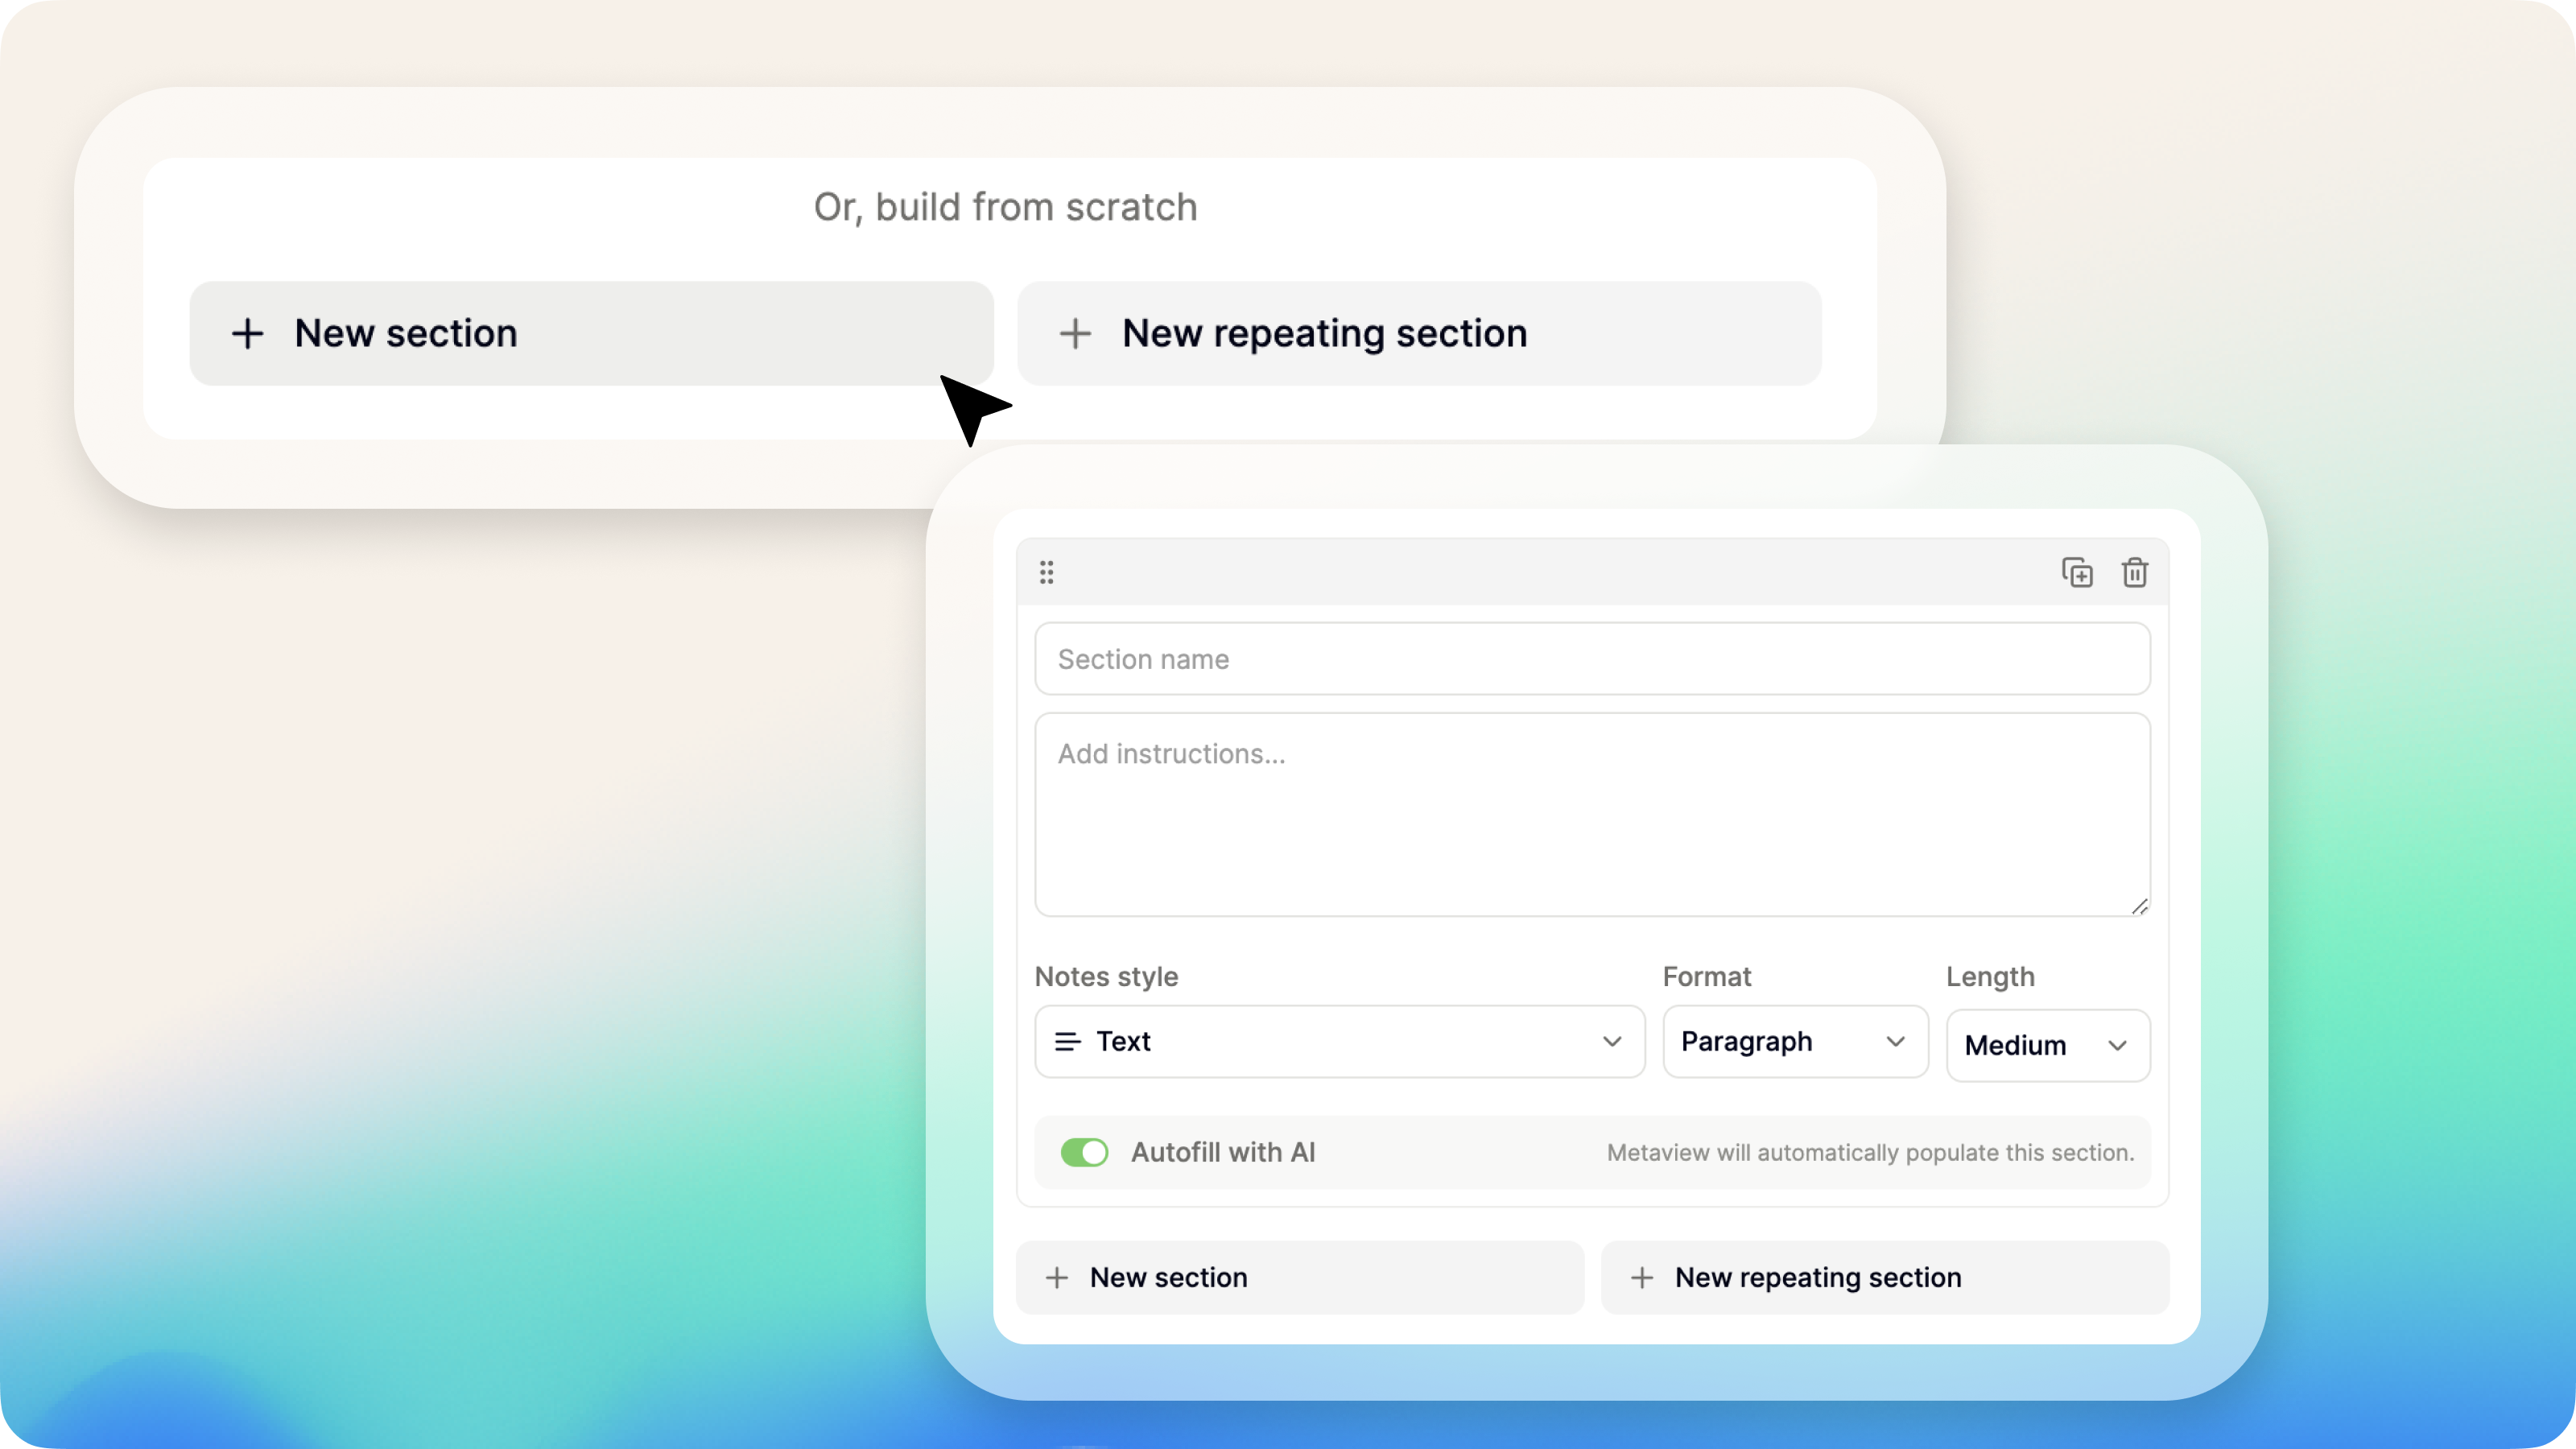
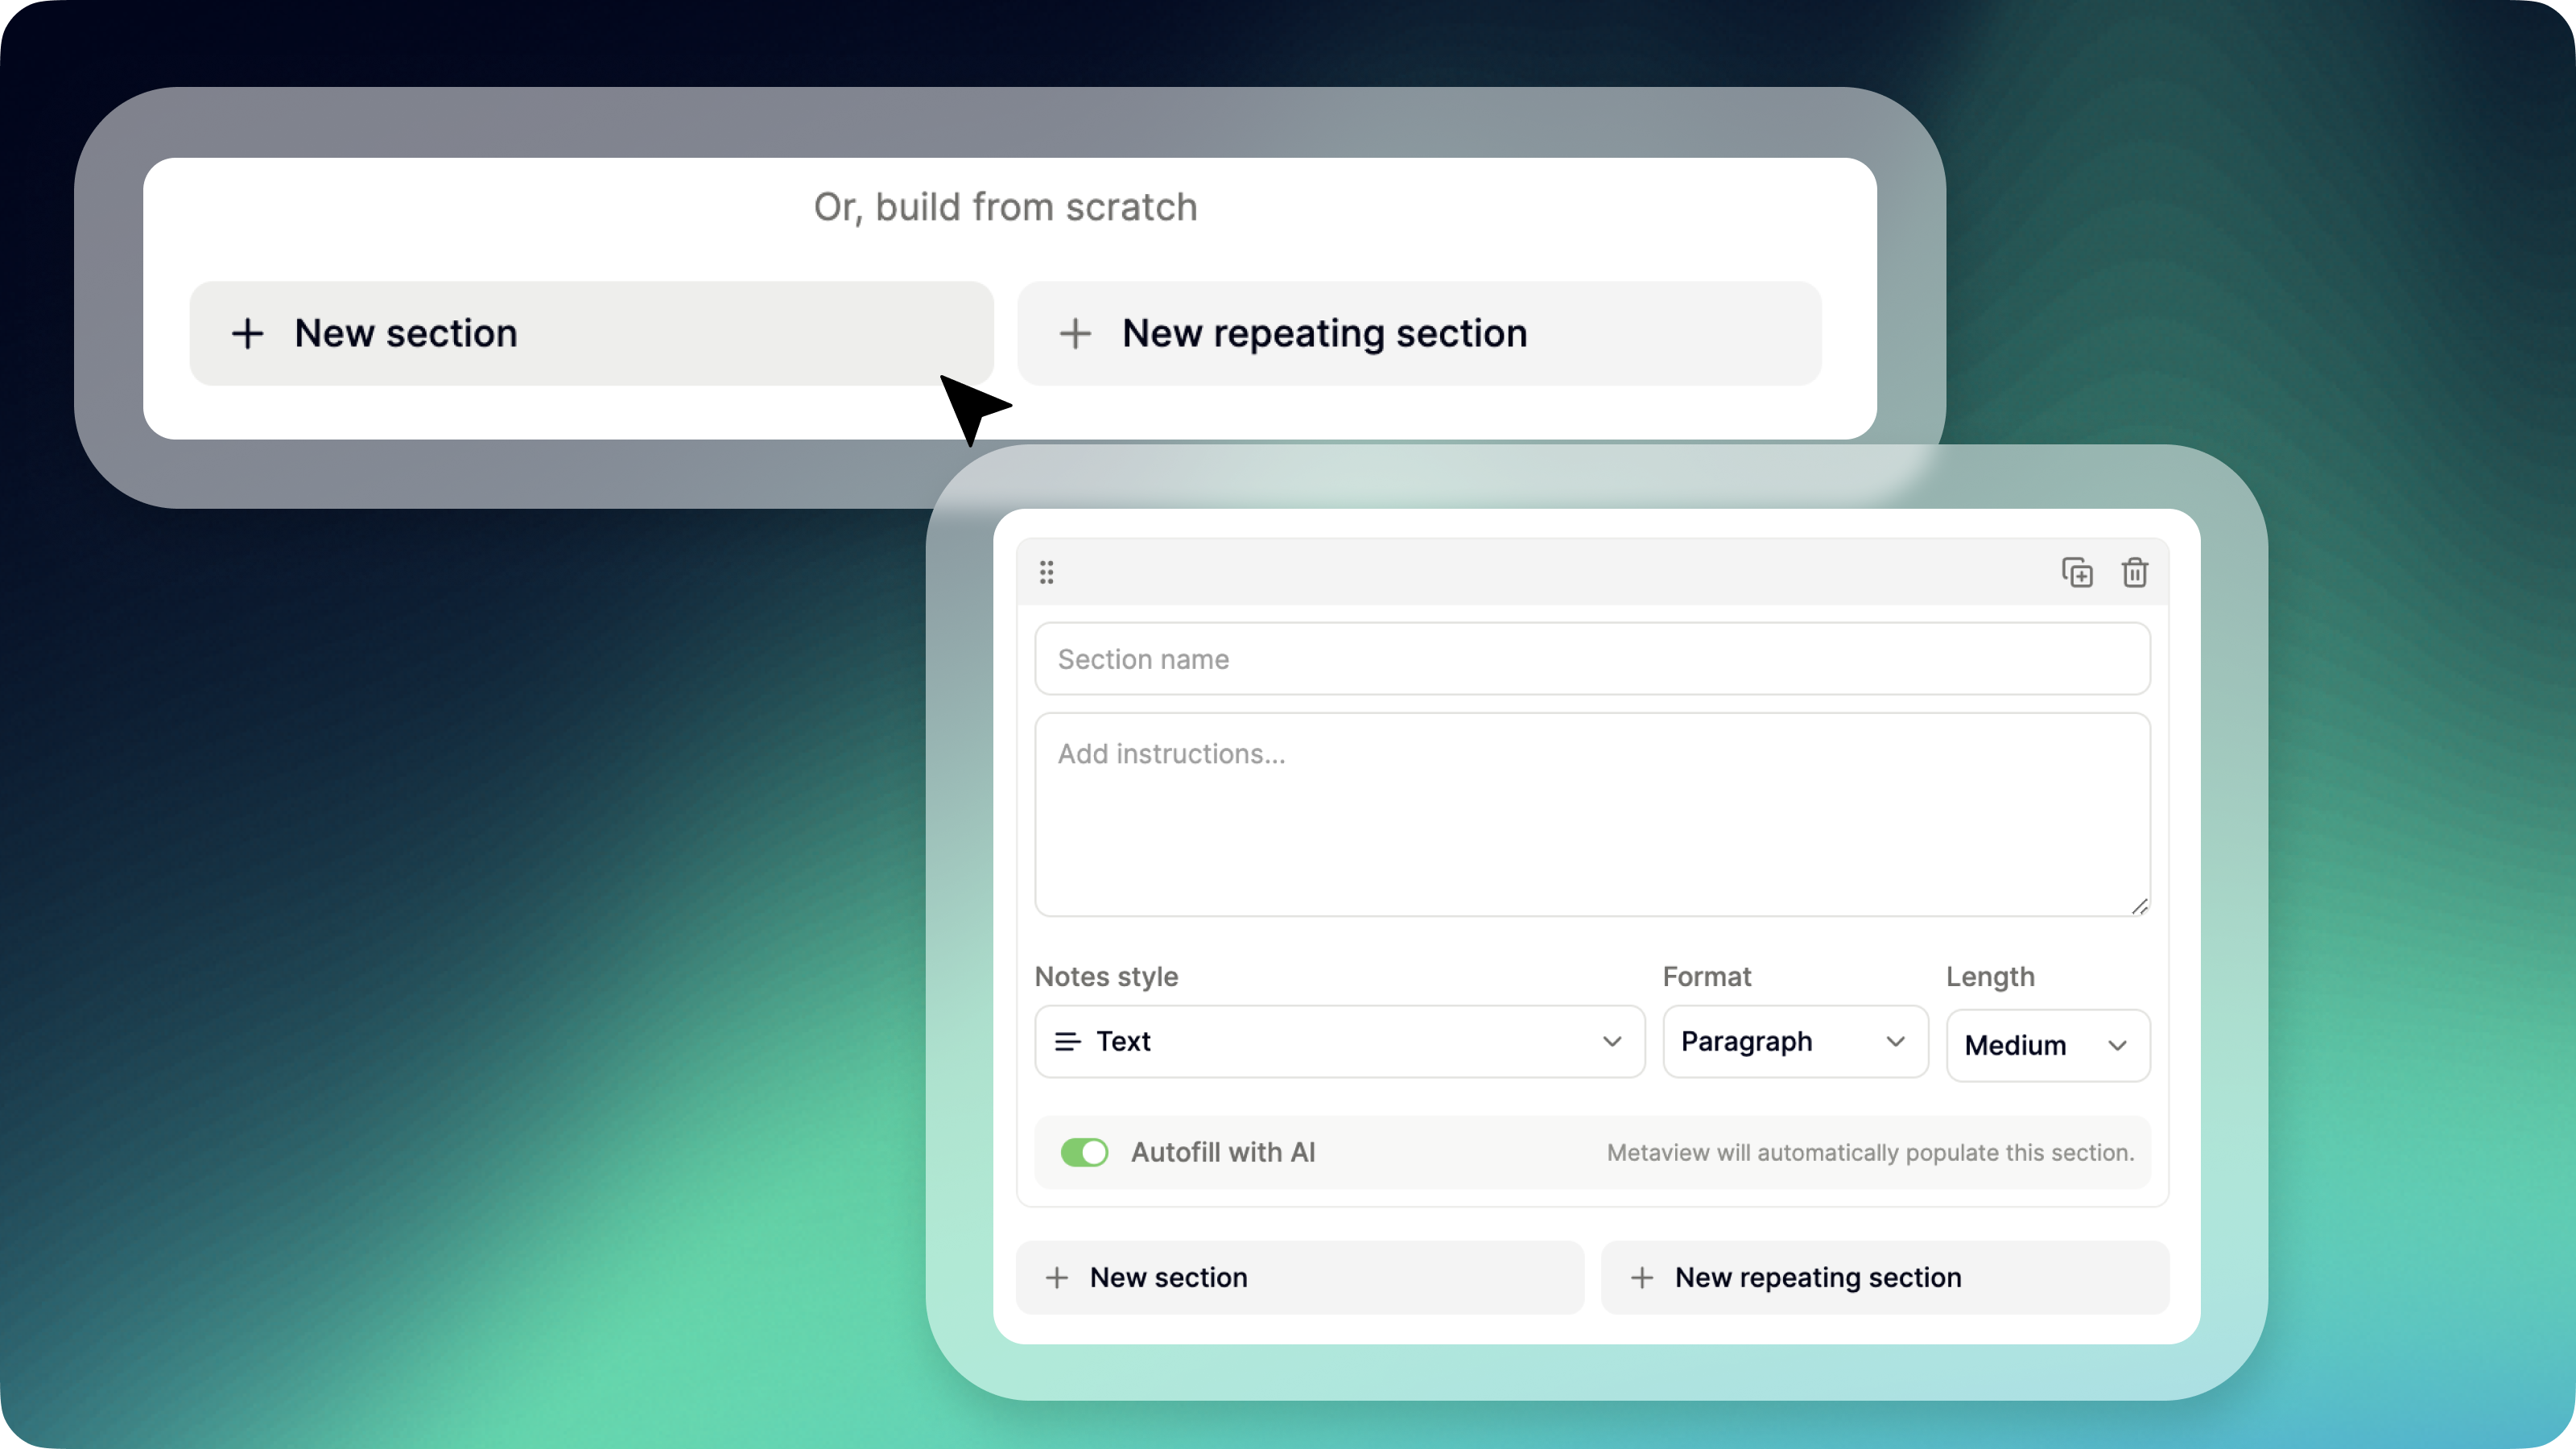
- Adding and customizing sections with various output types
- Editing and refining your template
- Using repeating sections for detailed documentation
- Saving and organizing your templates
Starting with a Blank Template
The key to creating a great custom template is to have a specific use case in mind. For this guide, we’ll create a template designed for a behavioral interview where the same questions are asked to all candidates. Step 1: Define your template’s purpose- Use Case Example: A behavioral interview template where you ask consistent questions to all candidates.
- Starting Section: Begin with an introduction section where you can note any small talk and basic details such as the candidate’s location, educational background, and what they’re looking for in their next role.
- Project Description: Create a section where candidates discuss a project they are proud of. Make sure to capture key details like the project’s name, why they are proud of it, key metrics, and why it was deemed successful.
- Format and Length: Set this section to be lengthy and in bullet point format for easy reading.
- Technologies Mentioned: Add a multiple-choice section where you can list out common technologies or programming languages that candidates might mention.
- Compensation Expectations: Use a number output type to document the candidate’s salary expectations.
- Start Date: Switch to a date output type to capture the candidate’s ideal start date.
- Decision: Add a final section where you can manually select whether the candidate is a yes or no—ensuring you’re the one making this decision without AI intervention.
- Showcase the Output: Once the template is set, preview the notes to see how each section looks and make any necessary adjustments to ensure it meets your needs.
Editing Your Template
Even after you’ve created your template, you might find that it needs some tweaks. Editing is simple, and you can see changes in real-time by previewing your notes. Example Edit: Compensation Expectations- Refining Details: Let’s say you want to capture more detailed compensation information, such as the candidate’s thoughts on equity or their preference for a smaller base salary with higher equity. You can easily add these details to the existing number section.
Using Repeating Sections
Sometimes, a single section isn’t enough to capture the repeated elements of an interview, such as multiple behavioral questions. What are Repeating Sections?- For Each Item, Create a Section: Repeating sections allow you to create a template that generates a new section for each item—whether it’s summarizing each participant’s thoughts in a meeting or detailing each role a candidate has held.
- Transforming Your Template: Convert your project discussion section into a repeating section where each behavioral question is answered in a new, detailed section.
- Reordering Sections: Easily move this new repeating section to its desired location in your notes.
Saving and Organizing Your Template
Once you’ve perfected your template, saving it for future use is straightforward. Personal or Shared Use?- Save in Personal Folder: If you’re the only one using this template, save it in your personal folder where it’s private to you.
- Shared Company Folder: For broader use, save the template in your company’s shared folder, or create a specific folder like ‘Behavioral Interviews’ to keep everything organized.
Conclusion
Now that you’ve created a custom template from scratch, you’re ready to streamline your note-taking process. By tailoring your templates to your exact needs, you ensure that your notes are concise, relevant, and easy to review. Next steps:- Experiment with your own templates: Start creating templates for different scenarios to see how they can improve your workflow.
- Reach out for help: Have questions or want to share your template? Don’t hesitate to contact us—we’d love to see what you’ve created!

